Introduction to No-Oats Apple Crisp
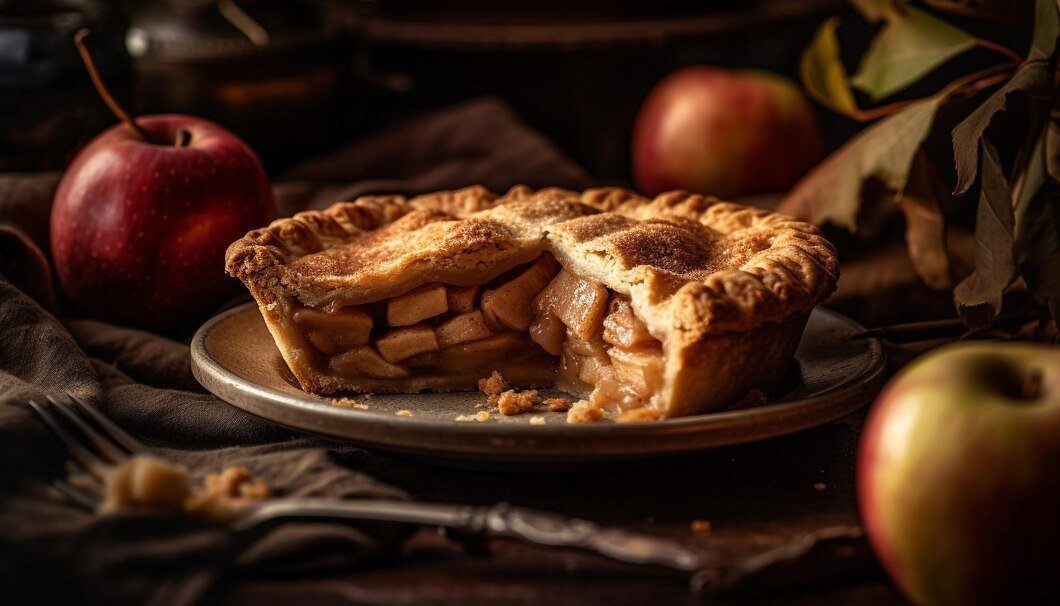
Ah, the classic apple crisp! It’s a dessert that evokes memories of cozy family gatherings and the sweet aroma of baked apples wafting through the air. But here’s a twist – we’re talking about an apple crisp without oats. That’s right, a crumbly, buttery topping that’s just as delightful, if not more, than its oat-laden counterpart. This version is not just a twist on the traditional recipe; it’s a whole new level of deliciousness.
The Appeal of Apple Crisp Without Oats
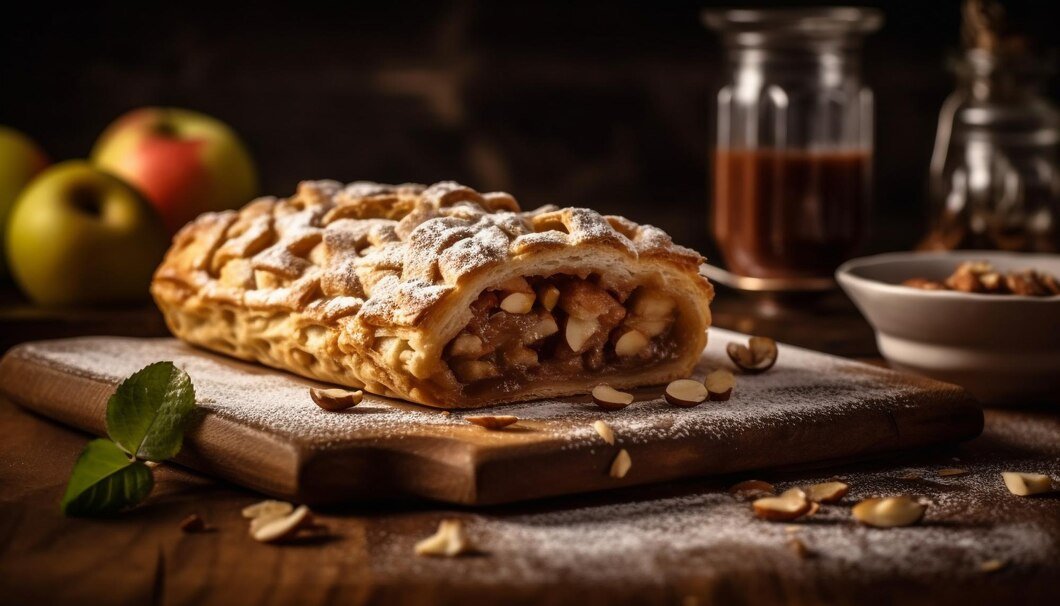
Why go for an apple crisp without oats, you might wonder? Well, for starters, it’s perfect for those who prefer a smoother, more pie-like topping. The absence of oats leads to a crisper, more buttery crust that melts in your mouth, offering a contrast to the soft, cinnamon-spiced apples beneath. It’s a texture lover’s dream come true!
Brief History and Origin
The origin of apple crisp can be traced back to the early 20th century, but the no-oats version is a more recent innovation. It’s a testament to the versatility of this beloved dessert. Whether it’s a handed-down family recipe or a creative twist from a modern kitchen, apple crisp without oats has carved its own niche in the world of sweet treats.
In essence, this dessert is more than just a recipe; it’s a warm, comforting hug in a dish. As we delve into the specifics of crafting this delightful dessert, remember that each step is a layer of love and care, culminating in a dish that’s sure to win hearts. Stay tuned as we embark on this culinary journey, transforming simple ingredients into a masterpiece of flavors and textures.
Selecting Apples for Your Crisp
Choosing the right apples is like picking the perfect cast for a blockbuster movie – it can make or break your apple crisp. The type of apple you use can significantly influence the texture and flavor of your dessert. So, let’s get into the nitty-gritty of apple selection.
Best Apple Varieties for Baking
When it comes to baking, not all apples are created equal. You want an apple that holds its shape and doesn’t turn to mush in the oven. Varieties like Honeycrisp, Granny Smith, and Braeburn are excellent choices. Honeycrisp apples bring a delightful sweetness and crisp texture, while Granny Smiths offer a tartness that balances the sweetness of the dish. Braeburn apples, with their firm texture and spicy-sweet flavor, are another superb option. For a truly exceptional apple crisp, consider mixing different varieties to create a complex flavor profile.
Sweet vs. Tart Apples
The sweet versus tart apple debate is a matter of personal preference. Sweet apples like Fuji or Gala will give your crisp a more sugary flavor, perfect for those with a sweet tooth. On the other hand, tart apples like Granny Smith provide a zesty contrast to the sweet topping, creating a more balanced dessert. The secret to a show-stopping apple crisp is finding the right balance between sweet and tart. Don’t be afraid to experiment with different combinations until you find your perfect match.
Crafting the Perfect Apple Filling
Now that we’ve picked our apple all-stars, it’s time to focus on creating a filling that’s nothing short of spectacular. The filling is where the magic happens, where the apples are transformed into a tender, flavorful, and aromatic heart of the crisp.
Ingredients for the Filling
The beauty of an apple crisp filling lies in its simplicity. You’ll need your chosen apples, of course, peeled and sliced. Add to that some granulated sugar to sweeten the deal, a dash of cinnamon for that warm, spicy note, and a splash of water or apple cider to bring it all together. The simplicity of these ingredients allows the natural flavor of the apples to shine through, creating a filling that’s both rich and nuanced.
Step-by-Step Preparation Guide
- Peel and Slice the Apples: Start by peeling your apples. Then, slice them into even pieces, about 1/4 inch thick. Consistent thickness ensures even cooking, so each bite is perfectly tender.
- Mix with Sugar and Cinnamon: In a large bowl, toss your apple slices with sugar and cinnamon. This step is crucial for infusing the apples with that classic, cozy flavor profile.
- Add Liquid: A little liquid goes a long way. Add a splash of water or apple cider to the mix. This not only helps the sugar and cinnamon coat the apples evenly but also creates a lovely sauce as the apples bake and release their juices.
- Layer in Baking Dish: Transfer your apple mixture to a baking dish, spreading it out evenly. This will be the foundation of your crisp, so take a moment to ensure it’s just right.
For more insights on the best ways to prepare your apples for baking, check out All About Apples. This resource is a goldmine for apple enthusiasts, offering tips and tricks to get the most out of this versatile fruit.
Making the Crumble Topping
The crumble topping is the crowning glory of our apple crisp. Without oats, this topping becomes a delightful blend of buttery, sugary goodness that crisps up beautifully in the oven. Let’s get into how to make this essential component of our dessert.
Ingredients for a No-Oats Topping
For a no-oats crumble topping, you’ll need all-purpose flour, granulated sugar, and unsalted butter. That’s it! The simplicity of these ingredients belies the incredible texture and flavor they bring when combined. The flour provides the structure, the sugar adds sweetness, and the butter brings it all together with its rich, melt-in-your-mouth quality.
Blending the Perfect Crumble
- Room Temperature Butter: Start with unsalted butter that’s been softened to room temperature. This makes it easier to blend with the dry ingredients.
- Mix Dry Ingredients: In a separate bowl, whisk together the flour and sugar. This ensures an even distribution of sweetness throughout the topping.
- Cut in the Butter: Add the butter to the flour and sugar mixture. Using a pastry cutter or your fingers, cut the butter into the dry ingredients until the mixture resembles coarse crumbs. You’re looking for pea-sized pieces of butter throughout, which will create those delightful, crumbly bits in the topping.
- Sprinkle Over Apples: Once your crumble topping is ready, sprinkle it evenly over the apple filling in your baking dish. Make sure to cover the apples completely for a uniform, golden crust.
For more detailed guidance on creating the perfect crumble topping, Baking Tips and Tricks offers a wealth of information. From achieving the right texture to ensuring even baking, this resource is invaluable for both novice and experienced bakers.
Baking Your Apple Crisp to Perfection
With our apple filling snug under a blanket of crumbly topping, it’s time to bake our apple crisp to golden perfection. This stage is where all the flavors meld together, creating a dessert that’s both comforting and irresistibly delicious.
Oven Preparation and Temperature Settings
- Preheat the Oven: Start by preheating your oven to 375°F (190°C). A properly preheated oven ensures that your apple crisp starts baking immediately, leading to a perfectly cooked dessert.
- Positioning the Rack: Place the rack in the middle of the oven. This position allows for even heat distribution, ensuring that both the top and bottom of your crisp cook evenly.
Monitoring the Baking Process
- Baking Time: Place your apple crisp in the preheated oven and bake for about 45-50 minutes. You’re looking for the topping to turn a lovely golden brown and the apple filling to bubble gently at the edges.
- Checking for Doneness: To check if your apple crisp is done, insert a fork gently into the filling. The apples should be tender but not mushy. The topping should be crisp and golden, not pale or overly browned.
- Letting it Rest: Once baked, remove your apple crisp from the oven and let it rest for about 15-20 minutes. This resting period allows the filling to thicken slightly, making it easier to serve.
Remember, every oven is a bit different, so these times are guidelines. Keep an eye on your apple crisp as it bakes, and adjust the time as needed for your specific oven.
For additional baking insights and how to get the most out of your oven, Baking Tips and Tricks is an excellent resource. It offers a plethora of information tailored to help you achieve baking success every time.
Serving and Storing Apple Crisp
Congratulations, your apple crisp is now baked to perfection! But before you dive in, let’s talk about the best ways to serve this delightful dessert and how to store any leftovers (if there are any!).
Ideal Serving Suggestions
- Serving Warm: Apple crisp is best enjoyed warm. The heat intensifies the flavors and makes the dessert comforting and cozy.
- With Ice Cream: For an extra treat, serve your apple crisp with a scoop of vanilla ice cream. The contrast between the warm crisp and the cold, creamy ice cream is simply divine.
- Additional Toppings: Don’t hesitate to drizzle some caramel sauce or a dollop of whipped cream on top for added decadence.
Tips for Storing and Reheating
- Room Temperature Storage: If you have leftovers, you can cover and store the apple crisp at room temperature for up to two days. This keeps the topping crisp.
- Refrigerating for Longer Storage: For longer storage, cover and refrigerate your apple crisp. It will stay good for up to a week.
- Reheating: To reheat, warm it in the oven at 350°F (175°C) for about 10-15 minutes. This helps to maintain the crispness of the topping. If you’re in a hurry, you can also microwave individual servings, but this might soften the topping a bit.
For more creative serving ideas and storage tips, These Old Cookbooks offer a treasure trove of information. From classic recipes to modern twists, you’ll find plenty of inspiration for your next dessert adventure.
Frequently Asked Questions
In this section, we’ll tackle some common queries about making an apple crisp without oats. These FAQs are designed to help you perfect your baking skills and understand the intricacies of this beloved dessert.
What is Crumble Topping Made of Without Oats?
A crumble topping without oats typically consists of all-purpose flour, granulated sugar, and butter. The flour provides structure, the sugar adds sweetness, and the butter brings richness and helps form those delightful, crumbly bits. When mixed and baked, these ingredients create a crisp, golden topping that’s both delicious and satisfying.
Difference Between Apple Crumble and Apple Crisp
The main difference between an apple crumble and an apple crisp lies in the topping. Traditionally, a crumble topping is denser and has a more cake-like texture, often including oats. In contrast, a crisp topping, especially one without oats, is lighter and more buttery, resulting in a flakier and crisper texture.
Solving the Non-Crunchy Apple Crisp Dilemma
If your apple crisp isn’t as crunchy as you’d like, there are a few potential reasons. It could be due to insufficient butter in the topping, not baking the crisp long enough, or the oven temperature being too low. Ensure you’re using the right amount of butter, bake until the topping is golden brown, and check that your oven is correctly calibrated.
How to Thicken Apple Crisp
To thicken the filling of your apple crisp, consider adding a small amount of cornstarch or flour to the apple mixture before baking. This helps absorb some of the juices released by the apples during baking, resulting in a thicker, more cohesive filling.
Conclusion: Wrapping Up the Perfect Apple Crisp
As we come to the end of our apple crisp journey, it’s clear that this dessert is more than just a combination of apples and topping. It’s a symphony of flavors and textures, a dance of sweet and tart, crisp and tender. An apple crisp without oats offers a unique take on a classic, bringing a buttery, melt-in-your-mouth experience that’s hard to resist.
Remember, the key to a great apple crisp lies in the quality of your ingredients and the love you put into preparing it. Choose your apples carefully, mix your topping with care, and bake with patience. The result is sure to be a dessert that delights the senses and warms the heart.
Whether you’re serving it at a family gathering, enjoying it as a cozy treat on a chilly evening, or simply indulging in a bit of baking therapy, this apple crisp is bound to become a favorite in your recipe collection. So, preheat your oven, gather your ingredients, and get ready to create a dessert that’s sure to impress.
Happy baking, and here’s to many sweet moments shared over a delicious serving of apple crisp without oats!
For more delicious dessert ideas, explore our Chocolate Cake with Cream Cheese Frosting or try the Delicious Lemon Cream Cheese Pound Cake for a zesty twist.