Introduction to Pizookie Recipe
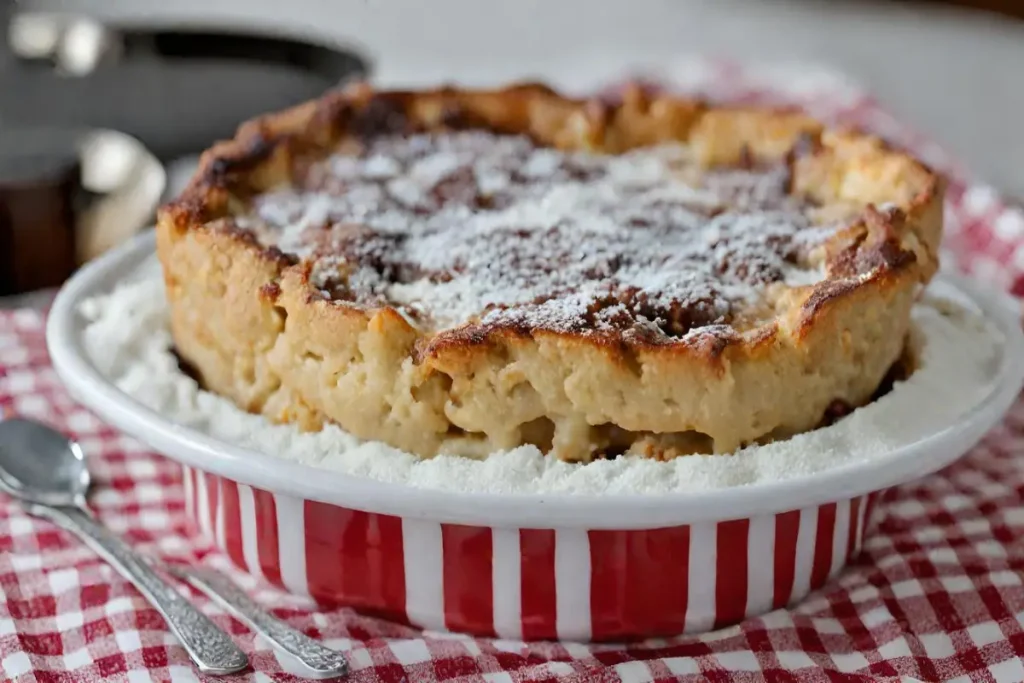
Pizookie Recipe — a dessert storming the internet and winning hearts and stomachs alike. But what is this whimsical creation? Essentially, a Pizookie combines “pizza” and “cookie” into a giant, skillet-baked cookie, often topped with melting ice cream. It’s a simple concept with a spectacular outcome, blending the chewy, chocolatey goodness of a cookie with the communal joy of slicing into a pizza.
What is a Pizookie Recipe?
Imagine biting into a warm, slightly underbaked cookie, where the chocolate chips are still melty, and the center is soft and gooey. Now, amplify that experience in a dish meant to be shared (though you might not want to). That’s the essence of a Pizookie. It’s not just a dessert; it’s an experience—a delightful, indulgent experience best enjoyed in good company.
Brief History and Popularity
The Pizookie’s origins are a bit murky, with several restaurants claiming its invention. However, its popularity is undeniable, spreading from niche online forums to mainstream dessert menus across the country. What began as a clever way to serve a cookie has become a dessert phenomenon, celebrated for its versatility and the sheer joy it brings to the table.
Ingredients and Equipment
Creating the perfect Pizookie starts with gathering the right ingredients and equipment. This section will guide you through everything you need to whip up this delightful dessert. Let’s dive in!
Ingredients
A Pizookie might seem like a culinary marvel, but its ingredient list is surprisingly simple. Here’s what you’ll need:
- Butter: The foundation of any good cookie, unsalted butter lets you control the saltiness of your dessert.
- Sugars: A mix of granulated sugar and light brown sugar gives the Pizookie its signature butterscotch flavor, similar to the techniques used in classic baking recipes.
- Eggs: Two large eggs and an extra yolk ensure your Pizookie is rich and chewy.
- Vanilla Extract: A splash of vanilla adds depth to the cookie dough.
- All-Purpose Flour: The base of your dough, measured correctly to avoid a dense Pizookie.
- Baking Soda: This leavener is key for a golden crust around that gooey center.
- Fine Sea Salt: Just a pinch to balance the sweetness.
- Semisweet Chocolate Chips and Chunks: No Pizookie is complete without plenty of chocolate!
Equipment Needed
The beauty of a Pizookie lies in its simplicity, not just in ingredients but also in the equipment needed. Here’s what to have on hand:
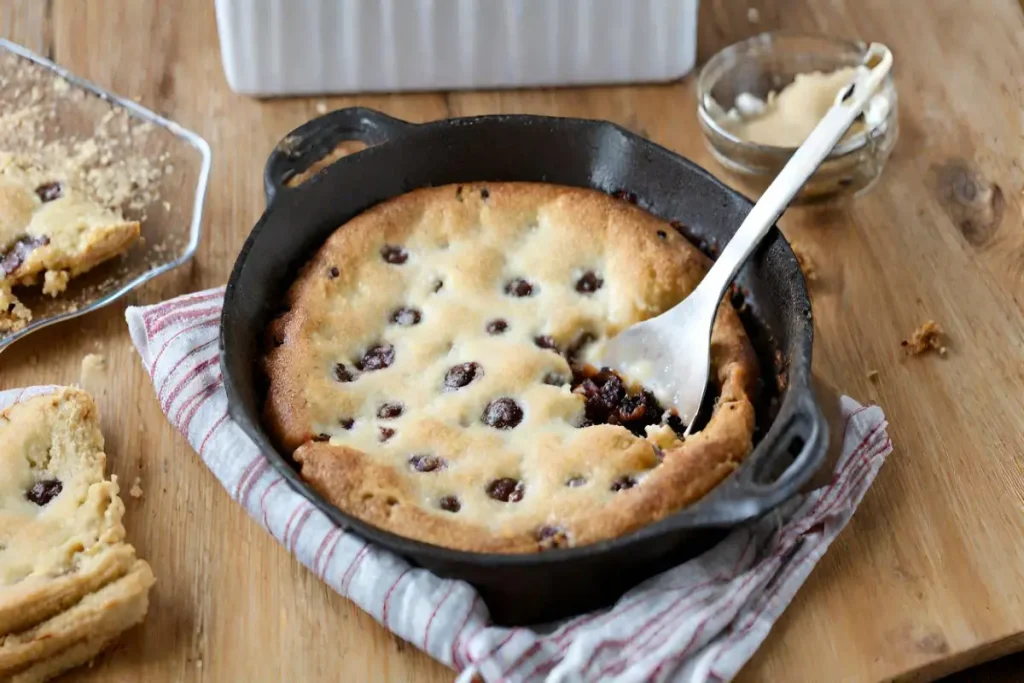
- Cast Iron Skillet: The traditional vessel for a Pizookie, a 10-inch skillet is ideal for achieving those crispy edges and gooey center. If you don’t have one, a 9-inch pie plate or cake pan can work in a pinch, though you might need to adjust the baking time slightly.
- Mixing Bowls: You’ll need at least one large bowl for mixing your dough.
- Measuring Cups and Spoons: Precision is key in baking, so make sure to measure your ingredients accurately.
- Whisk and Rubber Spatula: For combining your ingredients smoothly and scraping down the sides of the bowl.
Step-by-Step Recipe
Now that you’ve got your ingredients and equipment lined up, it’s time to dive into the heart of the matter: making the Pizookie. This step-by-step guide will walk you through the process, ensuring your dessert turns out perfectly. Let’s get started!
Preparation Steps
- Preheat Your Oven: Start by heating your oven to 325°F (163°C), ensuring it’s ready for baking perfection. This moderate temperature allows the Pizookie to cook evenly, achieving a gooey center without burning the edges.
- Melt the Butter: In your cast iron skillet over medium heat, melt the butter until it’s just liquid. Doing this directly in the skillet not only saves on cleaning but also infuses the pan with flavor.
- Mix the Sugars: Remove the skillet from the heat and stir in both the granulated and brown sugars. Whisk until the mixture is smooth and the sugars begin to dissolve.
- Add the Eggs and Vanilla: Let the sugar and butter mixture cool for a moment before adding the eggs, extra yolk, and vanilla extract. Whisk until the mixture is well combined and looks glossy.
- Incorporate Dry Ingredients: Sift in the flour, baking soda, and salt, folding them into the wet ingredients with a rubber spatula. Mix until just combined; overmixing can lead to a tough Pizookie.
- Fold in Chocolate: Stir in the semisweet chocolate chips and chunks, reserving a few to sprinkle on top before baking. This ensures your Pizookie is chock-full of chocolatey goodness in every bite.
Baking the Pizookie
- Spread the Dough: If you’ve removed the mixture to mix, pour it back into the skillet, spreading it evenly. If you mixed directly in the skillet, simply smooth the top with your spatula.
- Bake: Place the skillet in the preheated oven and bake for about 25-30 minutes. The edges should be golden and set, but the center should still be soft and slightly undercooked for that classic Pizookie texture.
- Cool and Serve: Allow the Pizookie to cool in the skillet for about 5 minutes. This resting period helps the cookie set up without becoming too hard. Then, top with scoops of vanilla ice cream and serve immediately for the ultimate experience.
Creating a Pizookie Recipe is as much about the journey as it is about the destination. Each step, from melting the butter to pulling the golden, gooey dessert out of the oven, is filled with anticipation. And the best part? Digging into that warm, chocolatey treat with your favorite people around.
Customizations and Variations
One of the joys of making a Pizookie is the endless possibilities for customization. Whether you’re a purist who loves the classic chocolate chip or an adventurer eager to explore new flavor territories, there’s a Pizookie variation for everyone. Let’s dive into some delicious ways to make this dessert uniquely yours.
Customizing Your Pizookie Recipe
- Flavor Variations: Don’t stop at chocolate chip! Consider stirring in white chocolate chips, peanut butter chips, or even butterscotch chips for a different taste. For a more festive twist, add a dash of cinnamon or pumpkin spice to your dough during the fall season.
- Ingredient Substitutions: If you’re catering to dietary restrictions or simply out of an ingredient, there are plenty of substitutions. Use coconut oil or vegan butter for a dairy-free version. Almond flour can replace all-purpose flour for a gluten-free Pizookie, though you may need to adjust the quantity for the right texture.
Toppings and Serving Suggestions
- Ice Cream and Sauces: A scoop of vanilla ice cream is traditional, but why not try coffee, chocolate, or even strawberry for a pop of color? Drizzle your Pizookie with salted caramel sauce, hot fudge, or a berry compote for an extra layer of flavor.
- Creative Topping Ideas: Sprinkle your Pizookie with crushed nuts, toffee bits, or sea salt before serving for added crunch and contrast. Fresh berries or banana slices can add a refreshing touch to each decadent bite.
Part 5: FAQs (Based on “People Also Ask”)
In this section, we’ll tackle some of the most common questions about making Pizookies, ensuring you have all the knowledge you need to bake with confidence.
Can I make a Pizookie Recipe without a cast iron skillet?
Absolutely! While a cast iron skillet provides a unique crust and even baking, you can use a 9-inch pie plate or cake pan as an alternative. Just keep an eye on your Pizookie as it bakes, as the timing might vary slightly.
How to store and reheat leftovers?
If you find yourself with leftovers (a rare occurrence, we know), simply cover the skillet with foil or transfer slices to an airtight container. You can store it at room temperature for up to 2 days. To reheat, warm it in a 325°F oven for about 5-10 minutes, or until it’s heated through.
Can I use baking powder instead of baking soda?
For a Pizookie, baking soda is preferred because it provides the right texture and rise. Baking powder, while similar, contains additional acids that can affect the flavor and texture of your dessert. Stick to baking soda for the best results.
Conclusion and Serving Suggestions
Creating a Pizookie is more than just baking; it’s an act of love and creativity. Whether you’re making it for a special occasion or as a treat for yourself, the process is as rewarding as the final product. Remember, the best Pizookie is the one that brings you joy, so don’t be afraid to experiment and make it your own.
Best Occasions for a Pizookie Recipe
A Pizookie is perfect for any gathering, from casual get-togethers to more festive celebrations. It’s a surefire hit for birthday parties, family dinners, or even as a surprise dessert to brighten someone’s day.
Pairing with Beverages
To complement the richness of the Pizookie, pair it with a glass of cold milk, a cup of coffee, or even a scoop of ice cream. For an adult twist, a dessert wine or a stout beer can enhance the chocolatey flavors.
As we wrap up this guide, we hope you’re inspired to create your own Pizookie masterpiece. Remember, the key to a great dessert is not just in the recipe but in the joy it brings to those who share it. So, preheat your oven, gather your ingredients, and get ready to bake a dessert that’s sure to impress. Happy baking!